Damage and error analysis

Identifying causes, avoiding coating errors: Efficient solutions for your quality problems
Despite the use of state-of-the-art technology and accurate manufacturing processes, coating errors are a frequent challenge both in production and during use in the field. Damage to organic or electroplated components comes at a high cost and can damage reputations, as well as pose risks to the environment and to safety. If no obvious cause can be found, detailed analysis is crucial to resolving problems for the long term.
We have many years of experience in chemical, metallographic and physical analytics and can offer comprehensive expertise in coatings, their material properties and fields of application. We can help you to identify the cause of damage to coatings or paint and take effective measures.
Damage analysis
With many years of experience in chemical, metallographic and physical analytics, we help companies to analyze coating errors and resolve them. Our experts identify the causes and develop individual measures to avoid future errors.
Our services for painting and coating problems
- Quick and accurate analysis of the damage
- Chemical, metallographic and physical testing for decorative and functional coatings
- Development of custom solutions for process optimization
- Advice on prevention of painting and coating errors
Typical causes of coating errors
Our examinations identify a wide range of possible causes of damage, including:
- Delamination and loss of adhesion
- Inadequate pre-treatment or surface contamination
- Errors during curing and incorrect mixing ratios in 2K systems
- Contamination of the paint material
- Mechanical loads and environmental influences
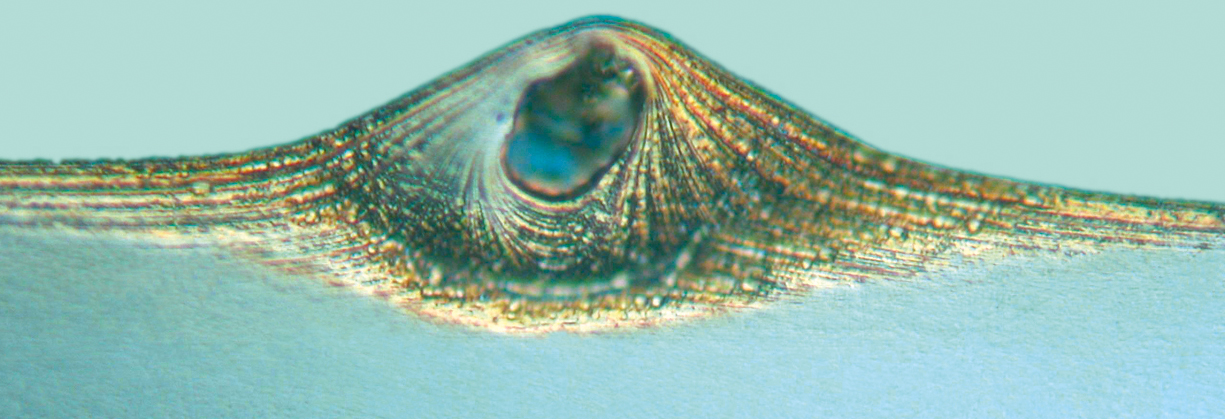
- Common paint errors, such as craters, spots, varnish tears or particles
Problems are often caused by the interaction of multiple factors. Our analysis identifies even complex interactions so that clear and sustainable solutions can be developed.
Individual solutions for your challenges
Every coating error is unique and requires an adapted approach. Our team offers support for a wide range of coating problems, from wood paints and wall paints to highly specialized paints for the automotive industry and galvanized piston rods.
Our state-of-the-art analytical methods
We apply advanced techniques for measurement and analysis. These include:
- Spectroscopic methods (infrared spectroscopy, Raman spectroscopy, UV-Vis spectroscopy)
- Thermal analytics (DSC, TGA + GC-MS, DMA)
- Chromatography (IC, GC-MS)
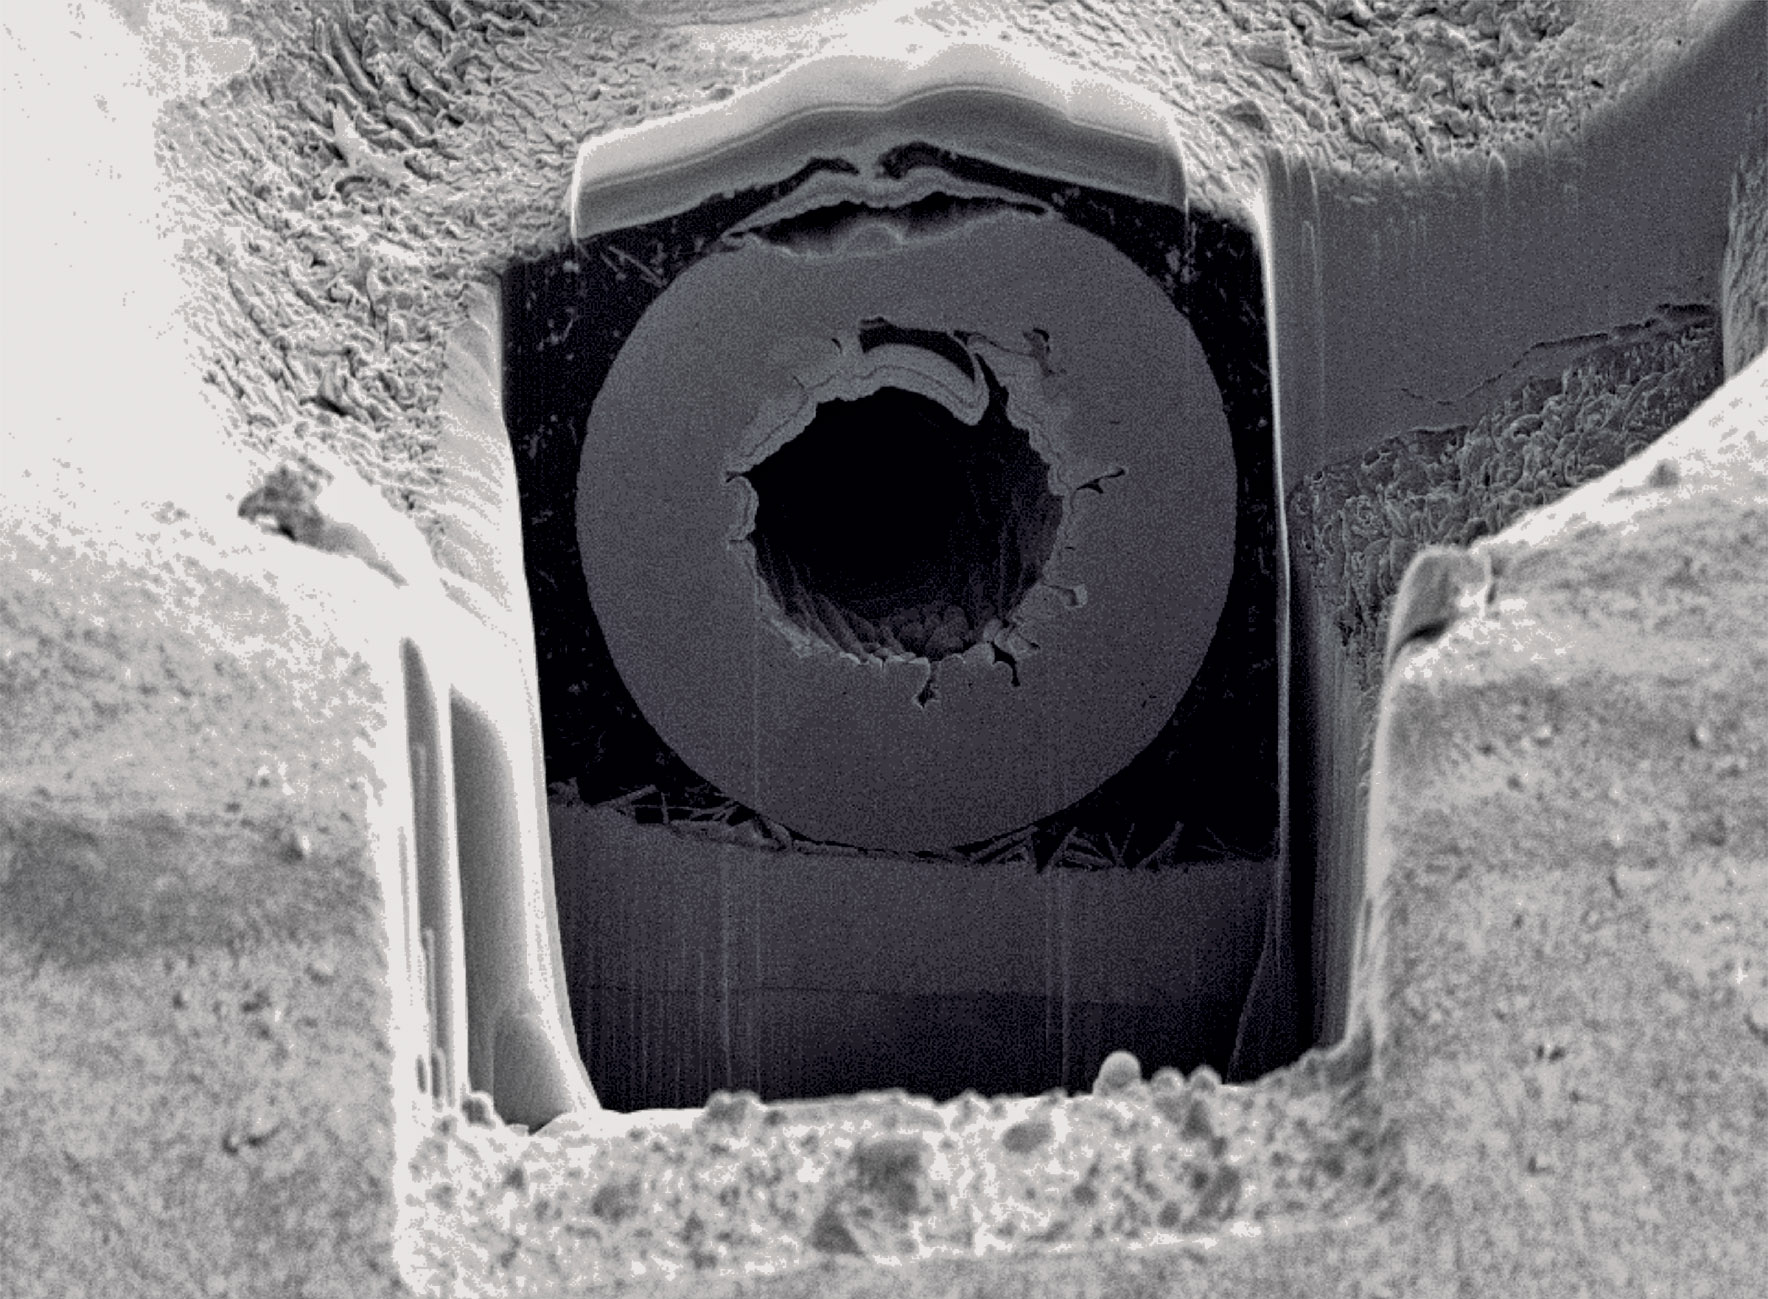
- Scanning electron microscopy (SEM) including energy-dispersive X-ray spectroscopy (EDX)
- Surface energy measurement (sessile drop, pendant drop)
- Rheological testing and particle size analysis
- Optical microscopy including cross-section preparation
Our analytics not only cover the causes of coating errors and damage but also produce recommended actions for the long-term improvement of your processes.
Damage and problems in practice
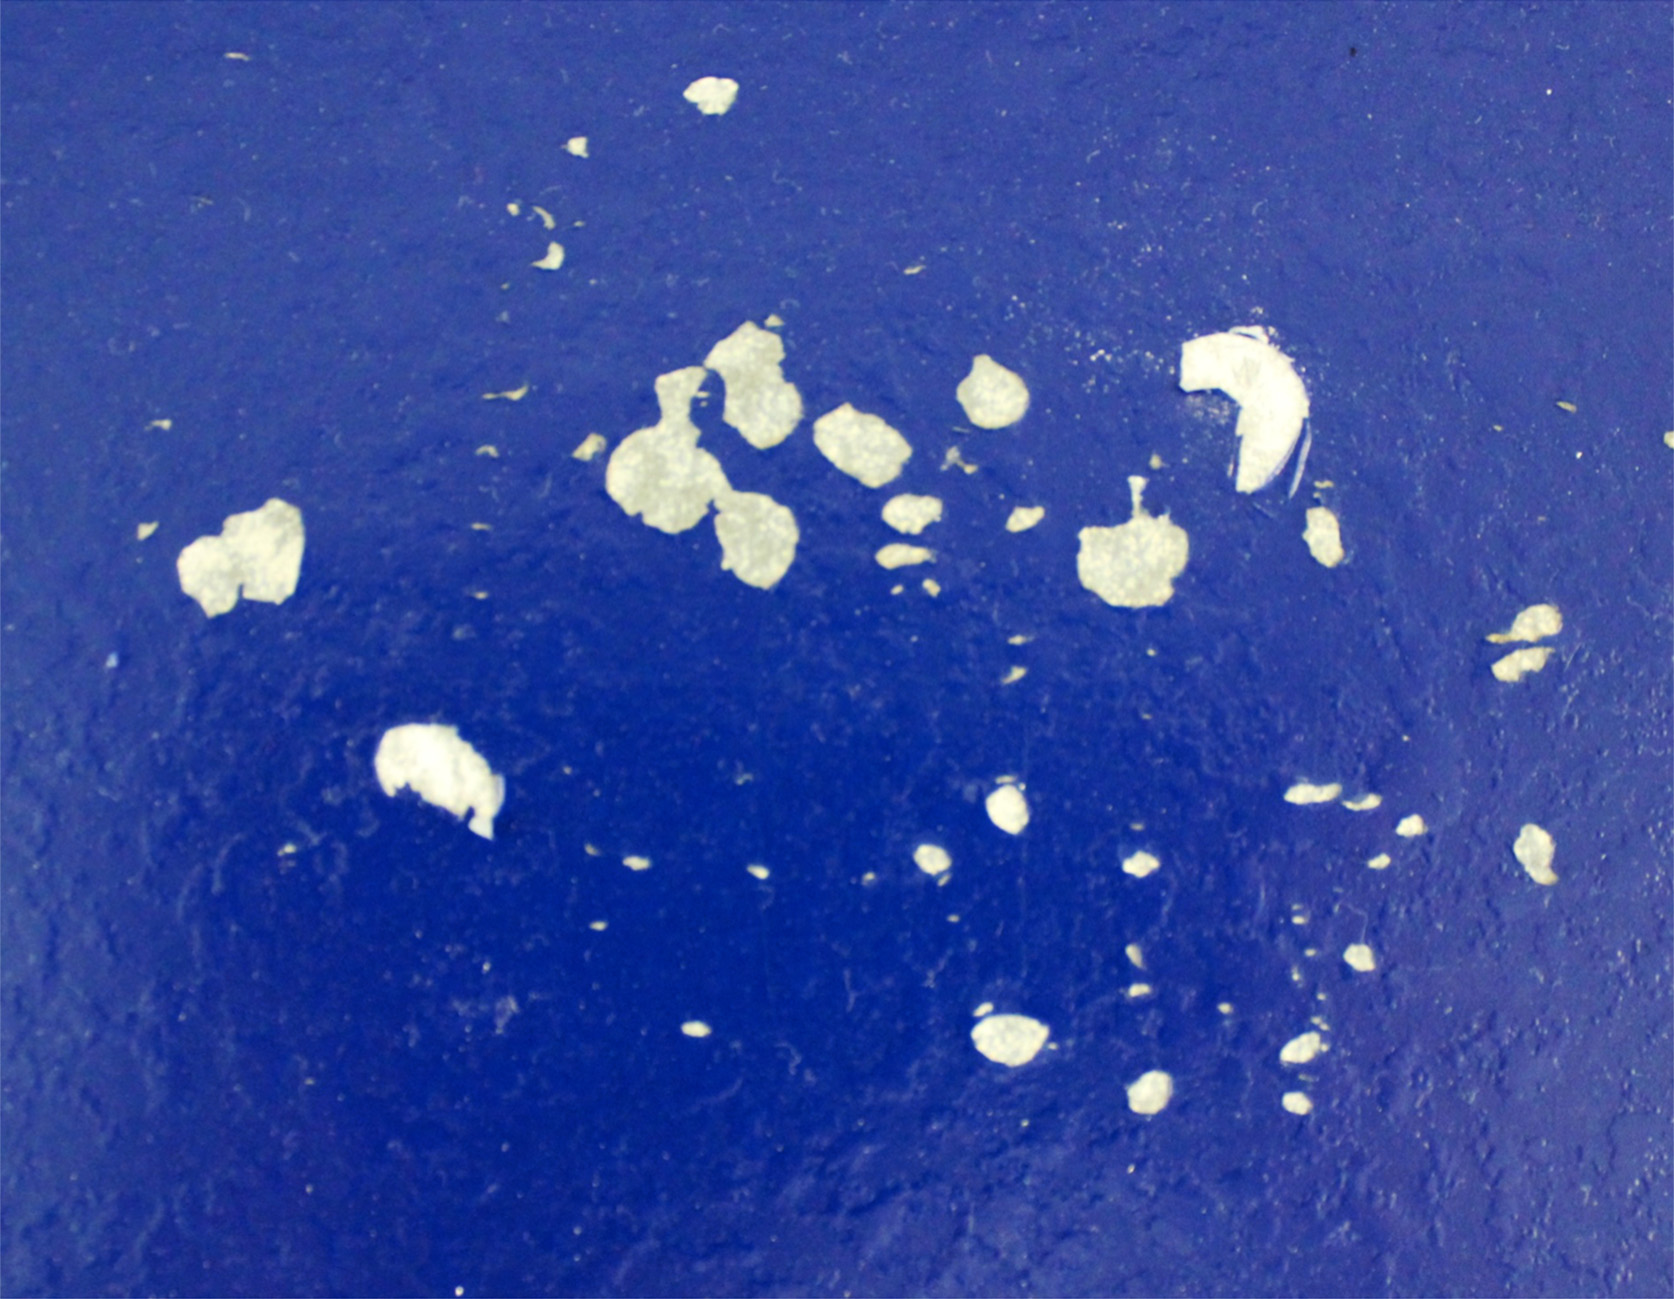
Delamination of a UV coating
Damage pattern: The UV-cured coating can be removed from the substrate with tape without any additional application of force.
Analyzed error: No wetting impairment substances were detected on the substrate. However, the infrared spectroscopic analysis of the double bond conversion shows that the coating has not been cured through to the interface with the substrate.
Solution: Some of the UV lamps were replaced during the process, and the replacement lamps were not ideally suited to the paint in question. Alternative sources of radiation are needed for the curing process.
Zinc-rich primer peeling off
Damage pattern: Zinc-rich primer on a production system is peeling off on a large scale and interrupting the production process.
Analyzed error: Thermogravimetric analysis demonstrated that the zinc-rich primer being used was tending to degrade the binding agent when affected by temperature. This made it unsuitable for the production system in the on-site temperature range.
Solution: Due to the thermal and chemical load in the production system, the introduction of a more stable paint system with suitable capacity limits is recommended.
Marks on the clear paint
Damage pattern: The clear paint is much softer than usual and even light pressing tends to leave marks.
Analyzed error: Infrared spectroscopic analysis showed that the mixing ratio of master batch to hardener in the 2K clear paint was well outside the specification.
Solution: The 2K mixing process was set incorrectly and required adjustment. Analytical monitoring of the process enables the correct mixing ratio to be set.
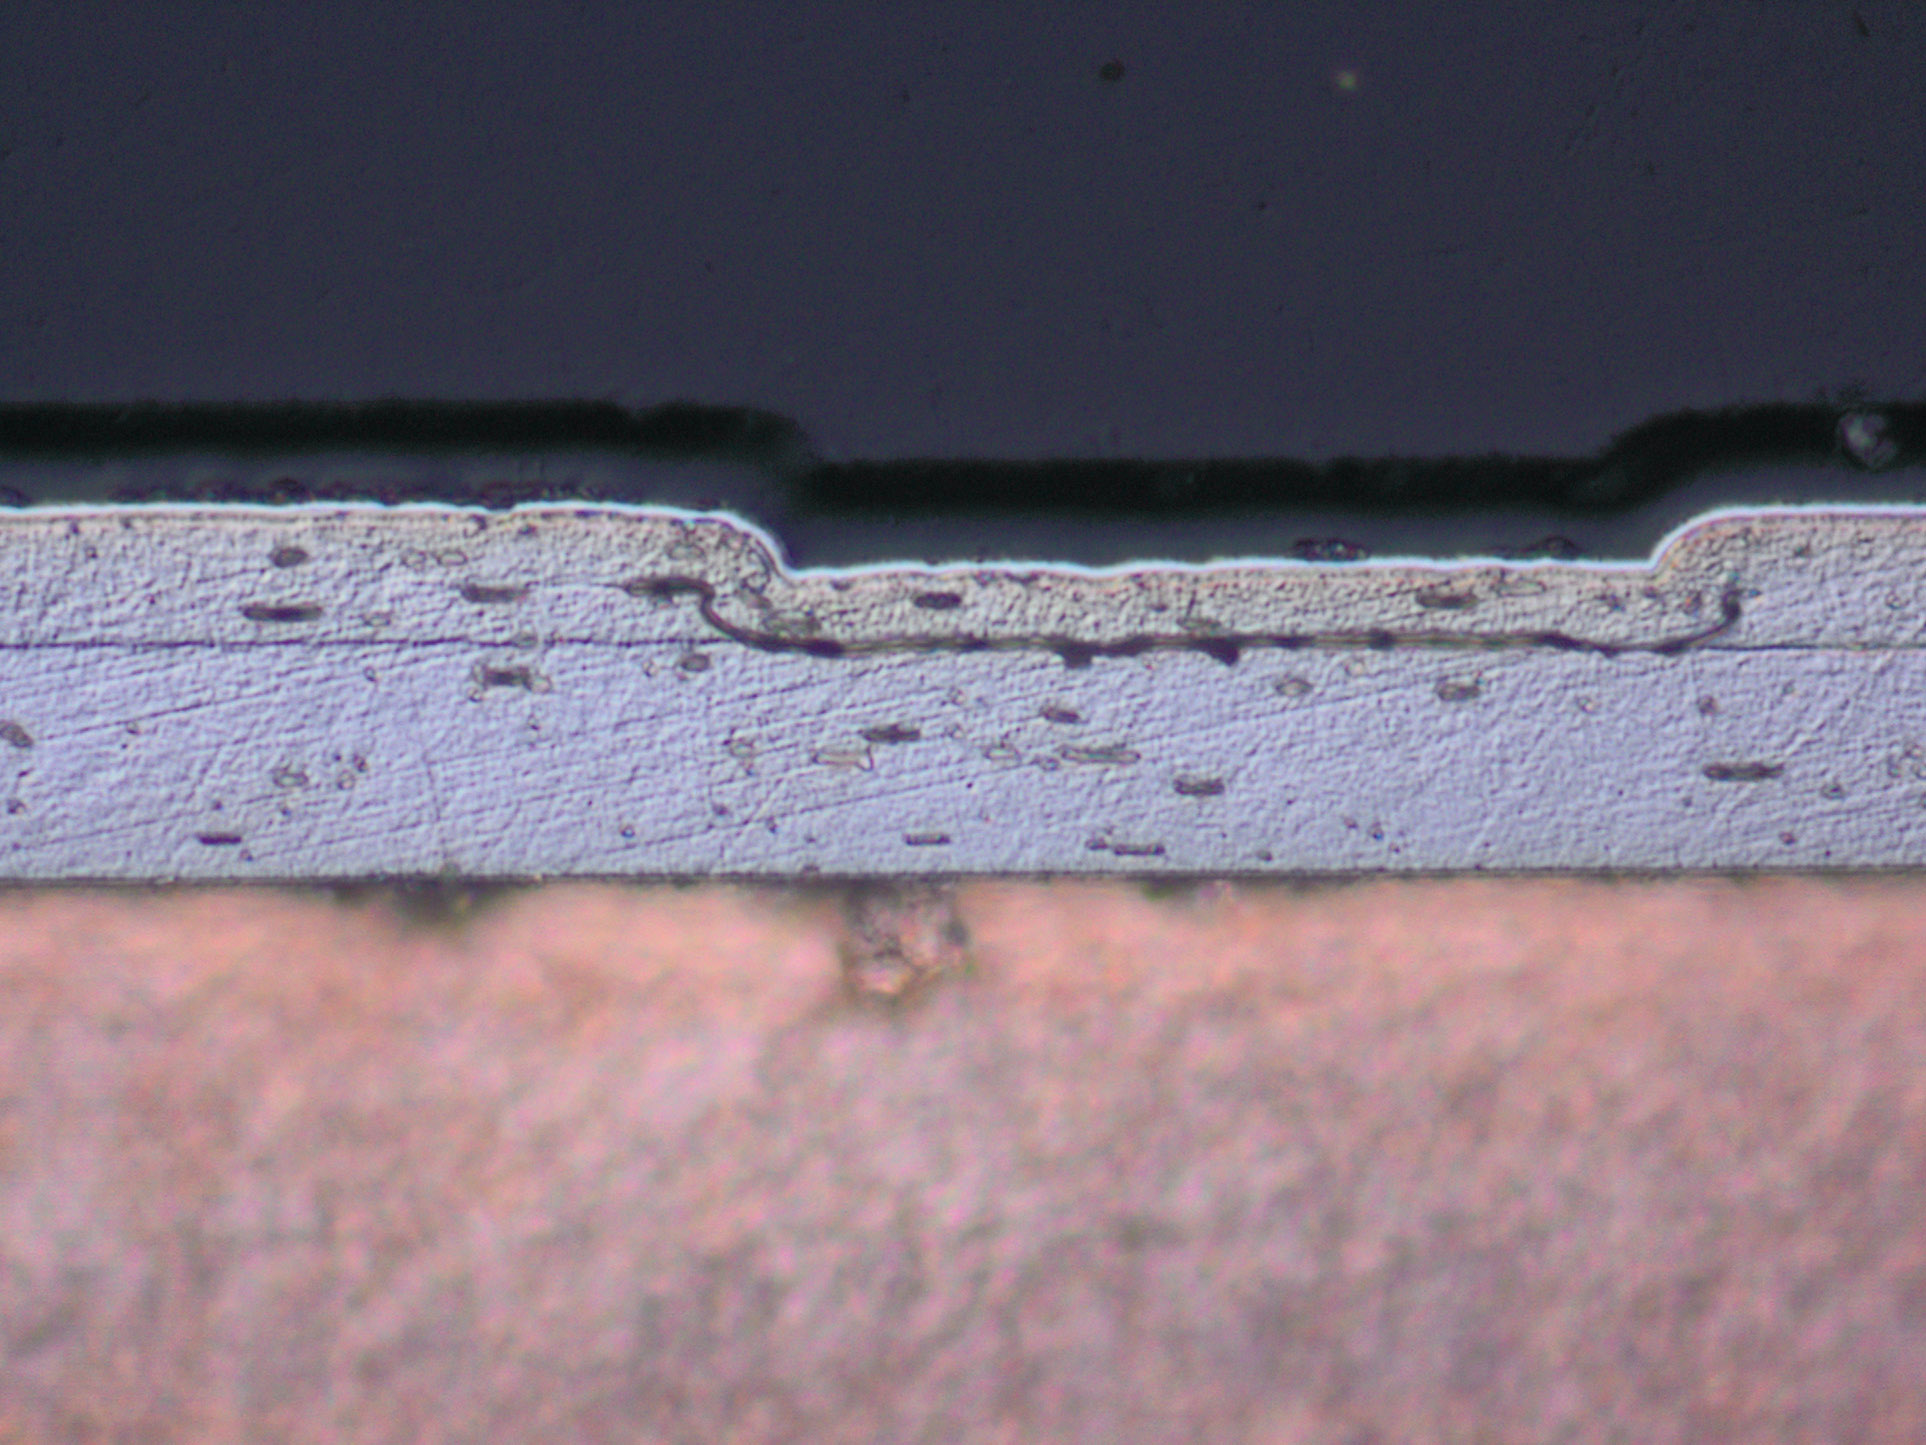
Partial delamination of coating on metal parts
Damage pattern: Apparently random delamination of the coating on solid metal parts.
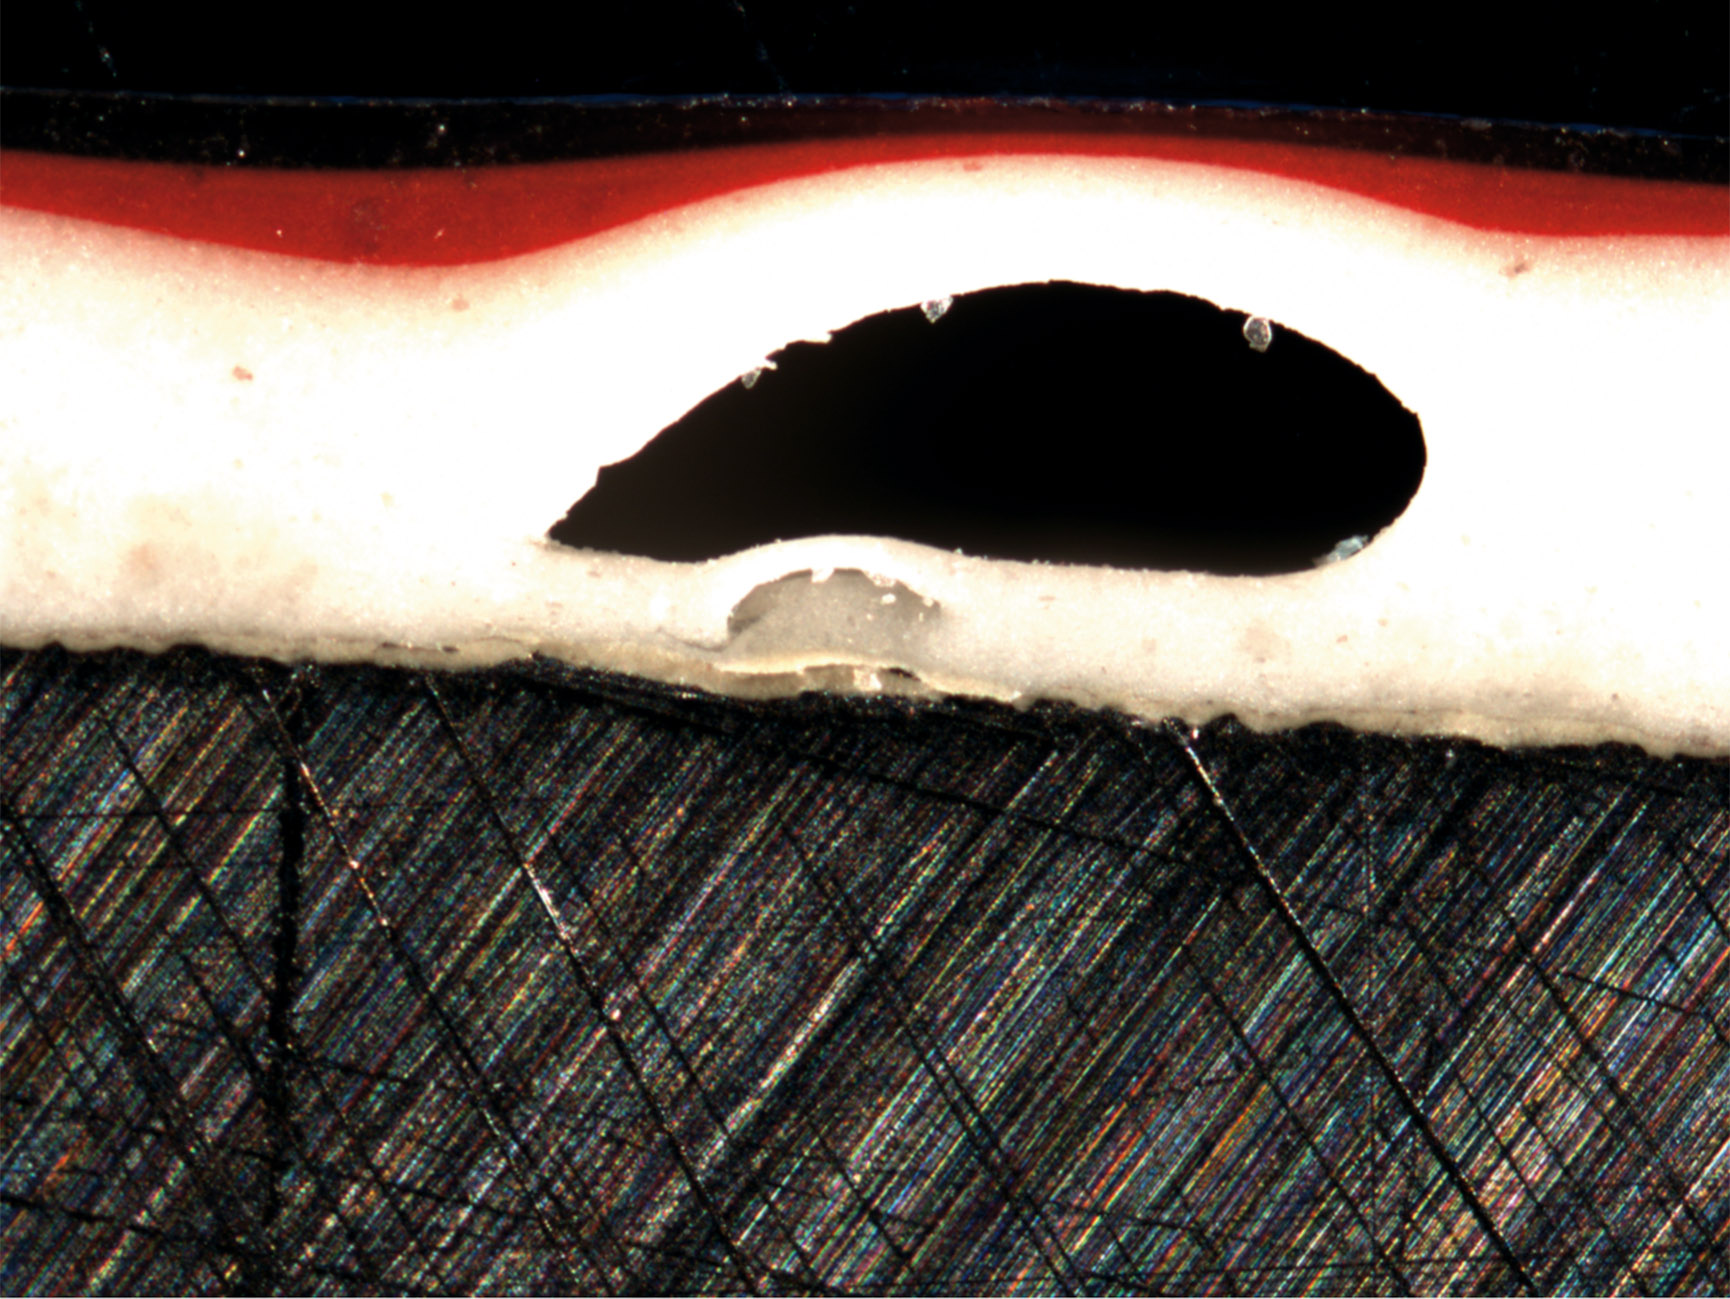
Analyzed error: The layer thicknesses in the coating are highly irregular. In the upper layers, significant residual quantities of solvent were detected using gas chromatography-mass spectrometry. In addition, differential scanning calorimetry demonstrated that the glass-transition temperature was too low for the application in question. Signs of post-curing processes were also identified.
Solution: The paint must be applied within the specified layer thickness specification and cured optimally.
Failure in the field — detailed collection of evidence / flaking of chemical nickel layer
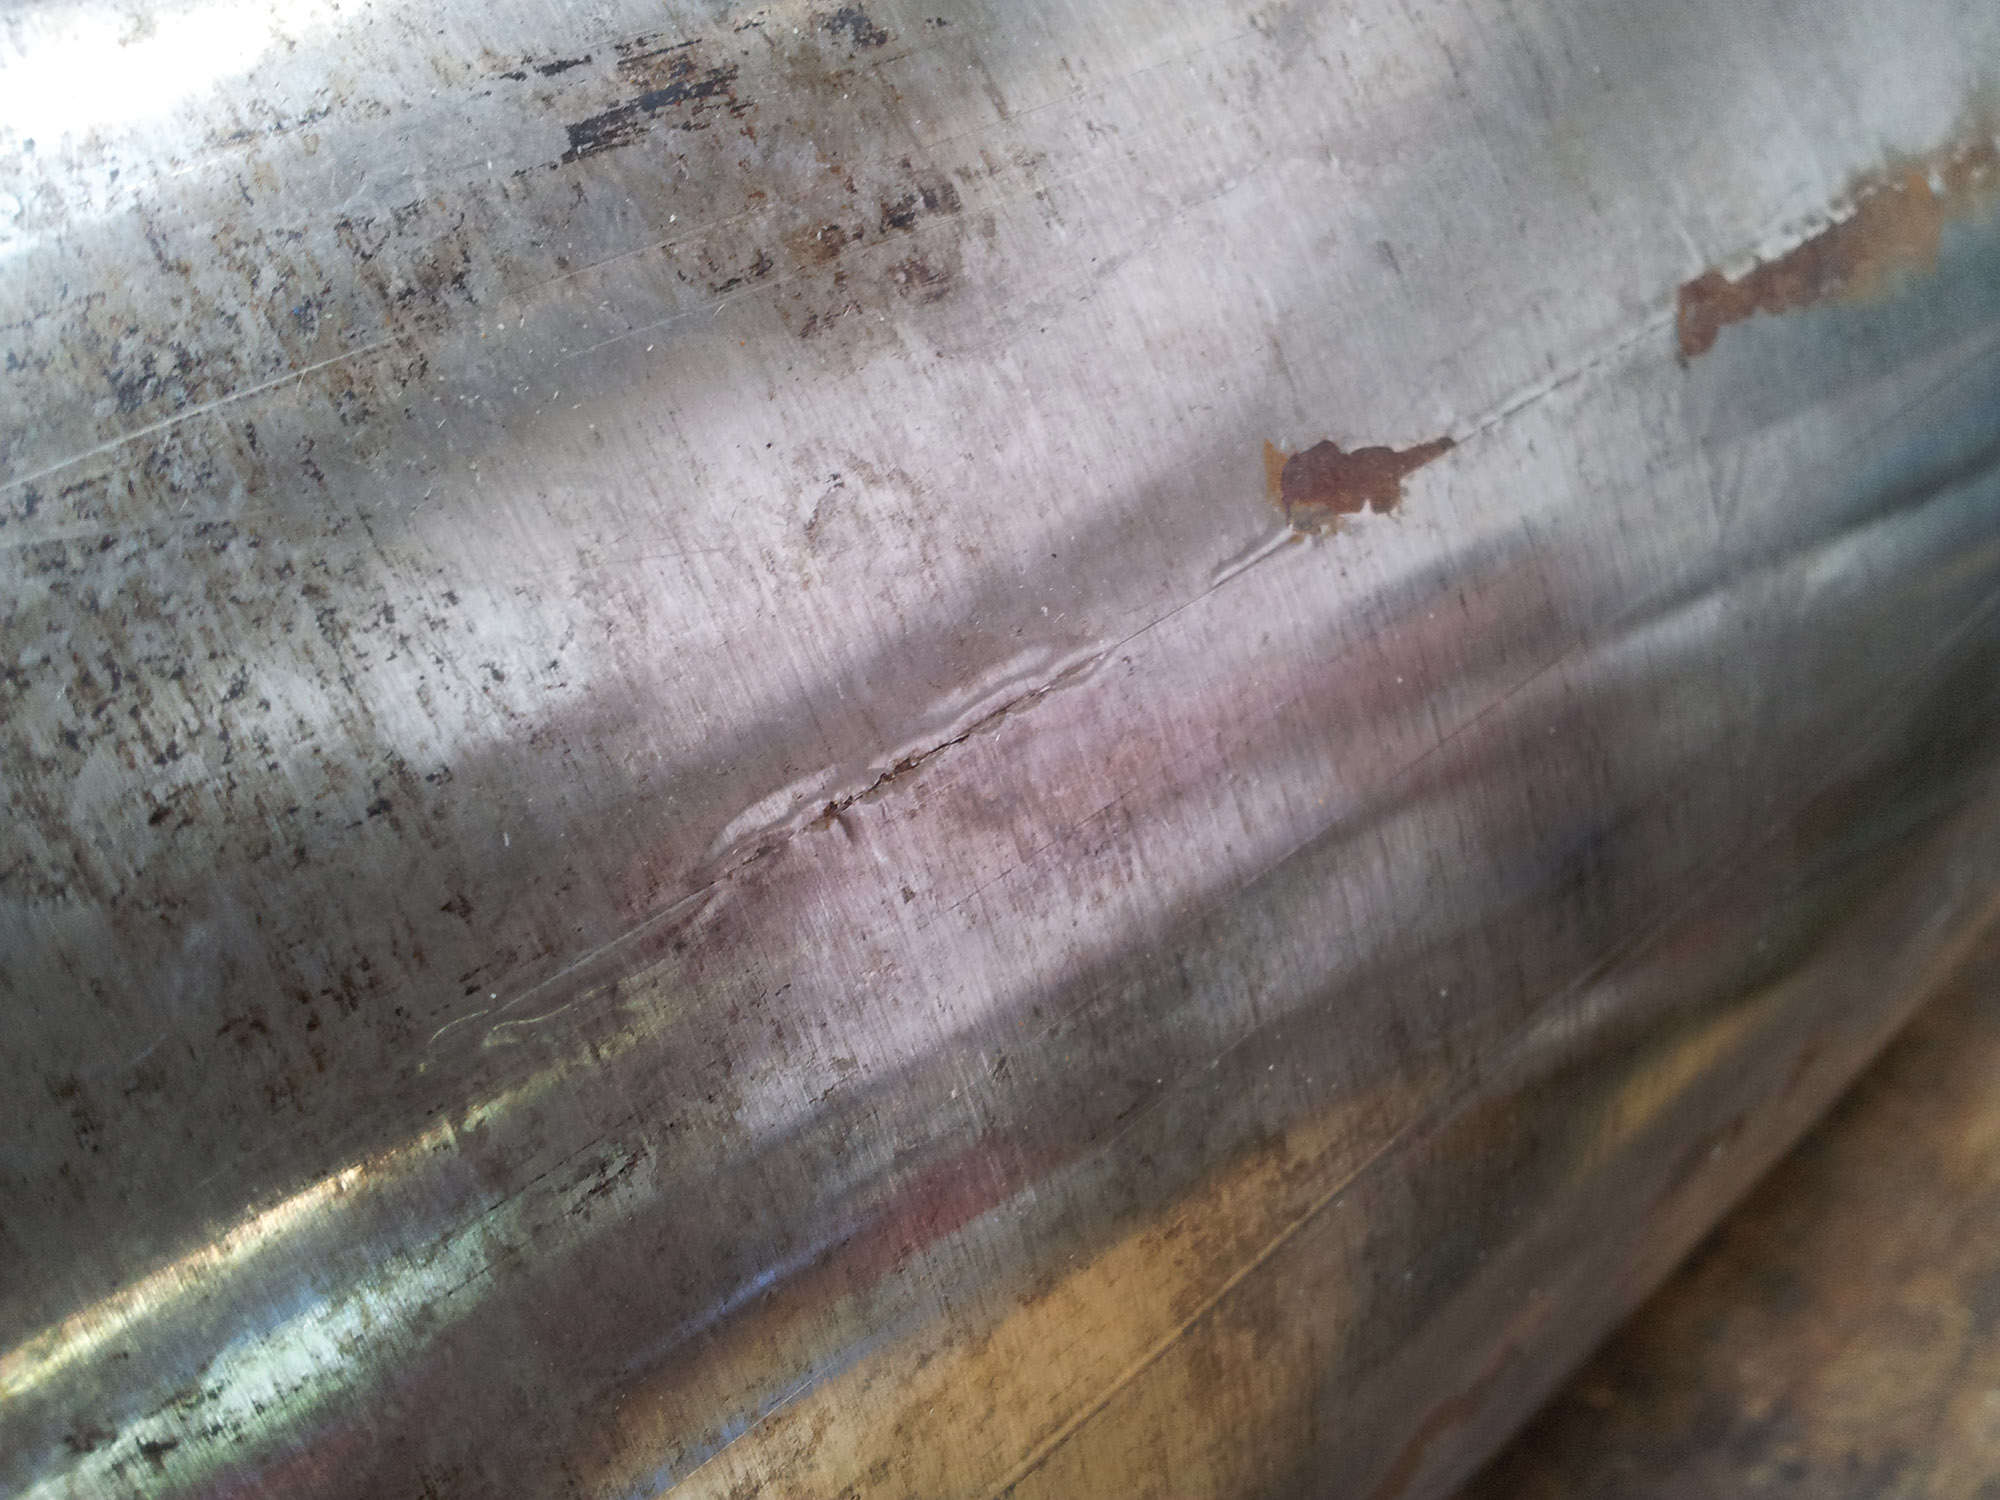
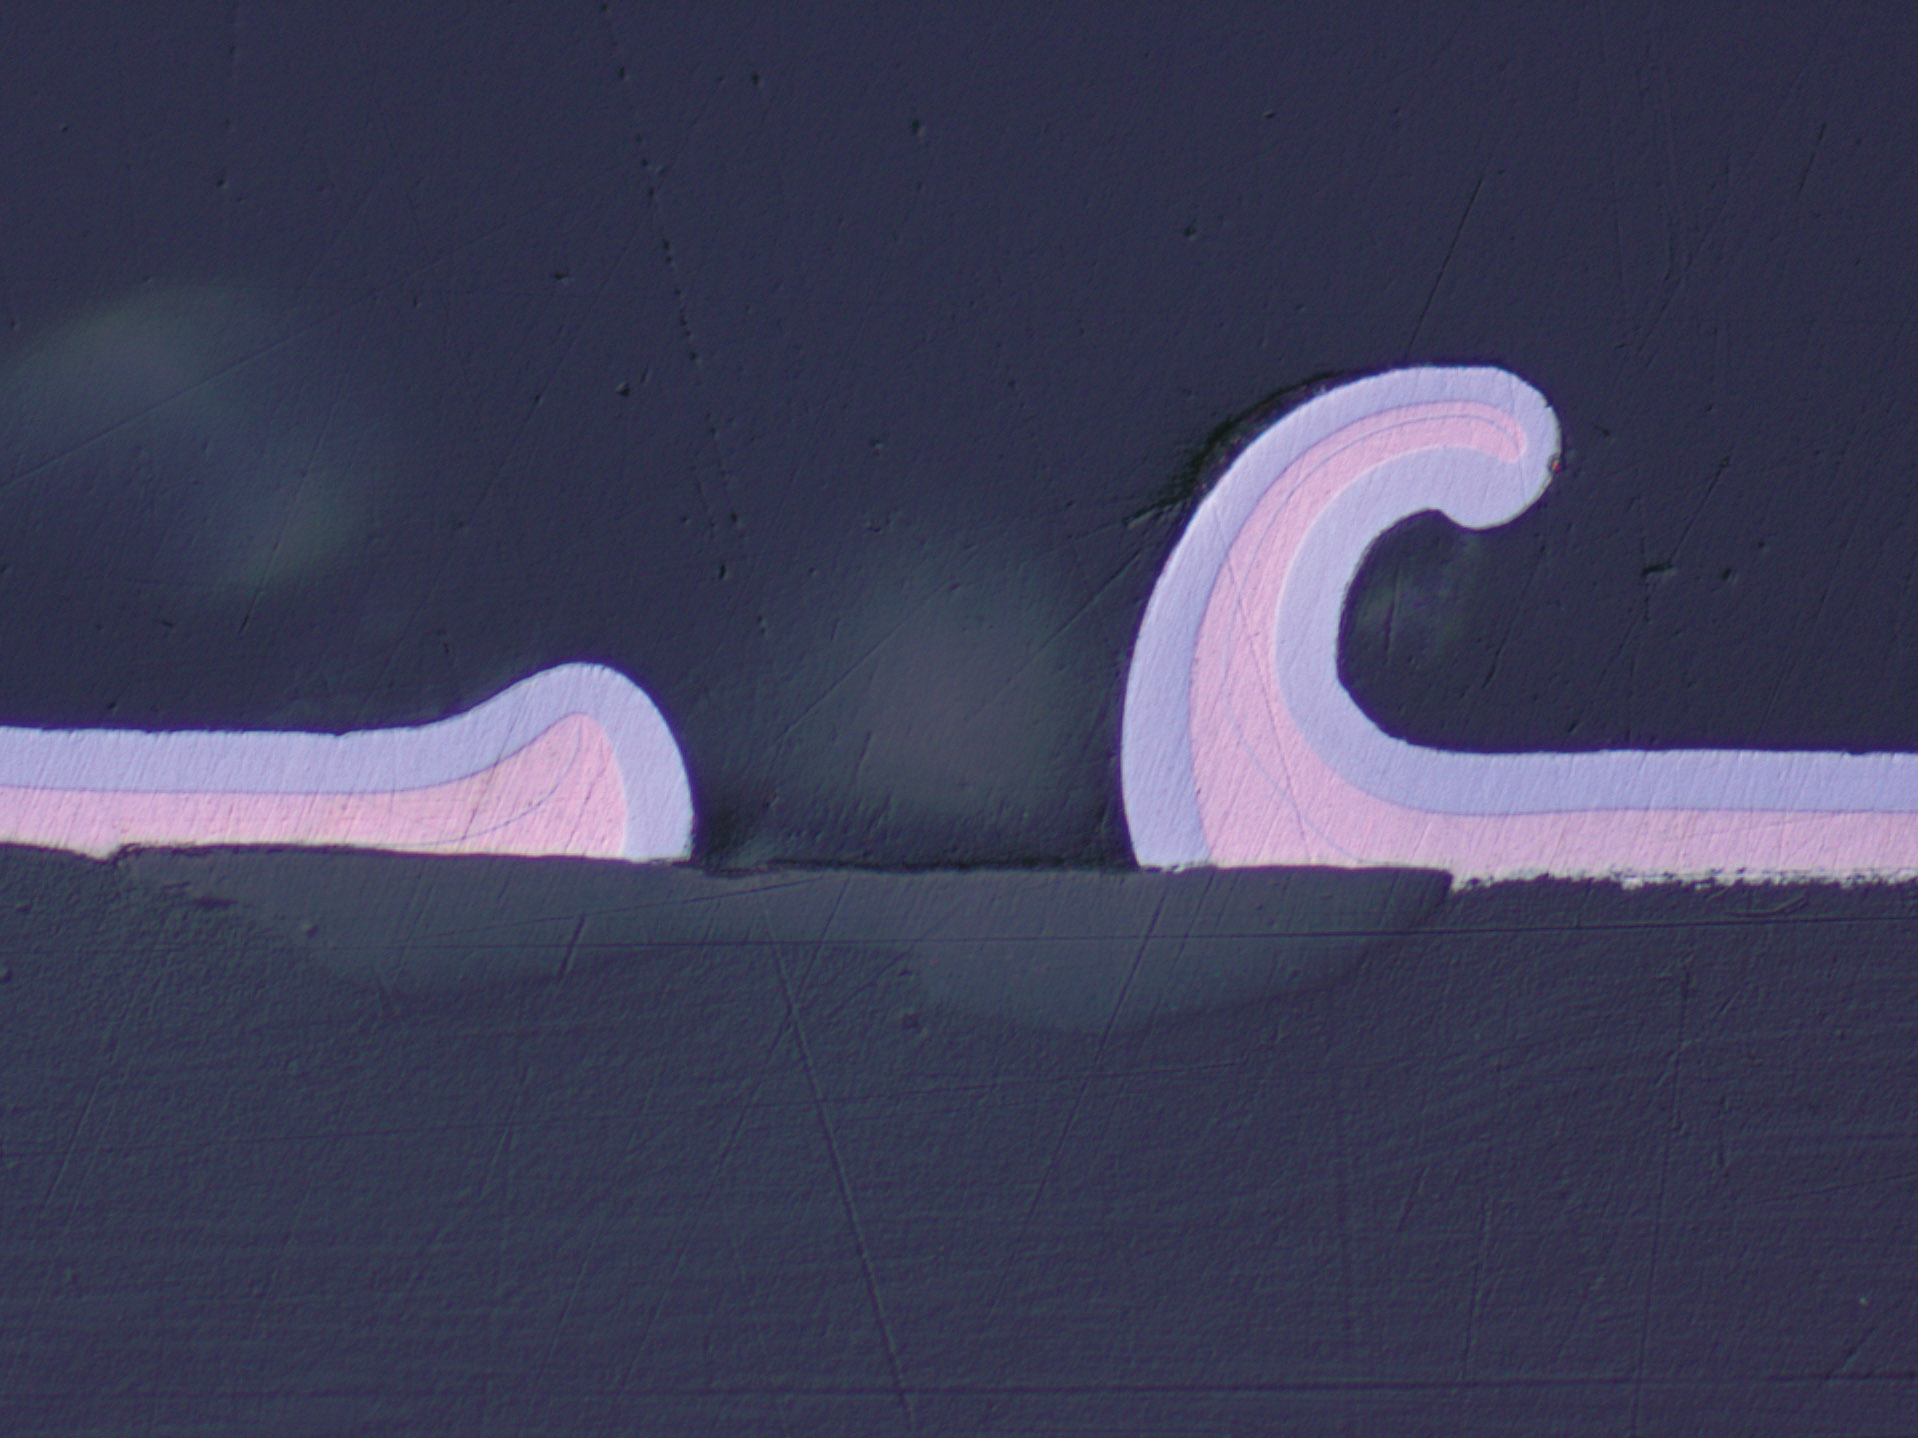
Problem: Flaking of chemical nickel layer and signs of corrosion on the base material of a safety-related component for wind turbines. The corrosion occurred after the flaking but made it more difficult to identify the cause.
Analyzed error: Deformation of the nickel layer and substrate due to external mechanical load detected
Cause: It is assumed that the chosen coating has not been adapted to the mechanical load during use, or excessive forces have been applied to the component.
Error in the production process — downtime and delivery failures
Problem: High reject rate for coating of plastic parts in the automotive industry.
Procedure: Errors assessed and classified using metallographic testing. This was followed by an on-site analysis of the production process, including monitoring and assessment of system maintenance. Results correlated and corrective measures developed.
Result: Due to the different error patterns, a range of measures were identified and prioritized for implementation, with the aim of reducing the reject rate.
Influence of the base material on the coating
Problem: Wide range of error patterns on coated plastic components in the field of ventilation.
Procedure: Error analysis using metallographic target preparation and assessment of the production process
Result: Diverse range of causes leading to many different error patterns. However, one significant aspect can be found in the plastic. Inadequate injection molding parameters, as well as injection molding machines that have not been adjusted correctly, are causing inhomogeneities in the component, which cannot be coated using conventional plastic electroplating.
Corrosion causing failure
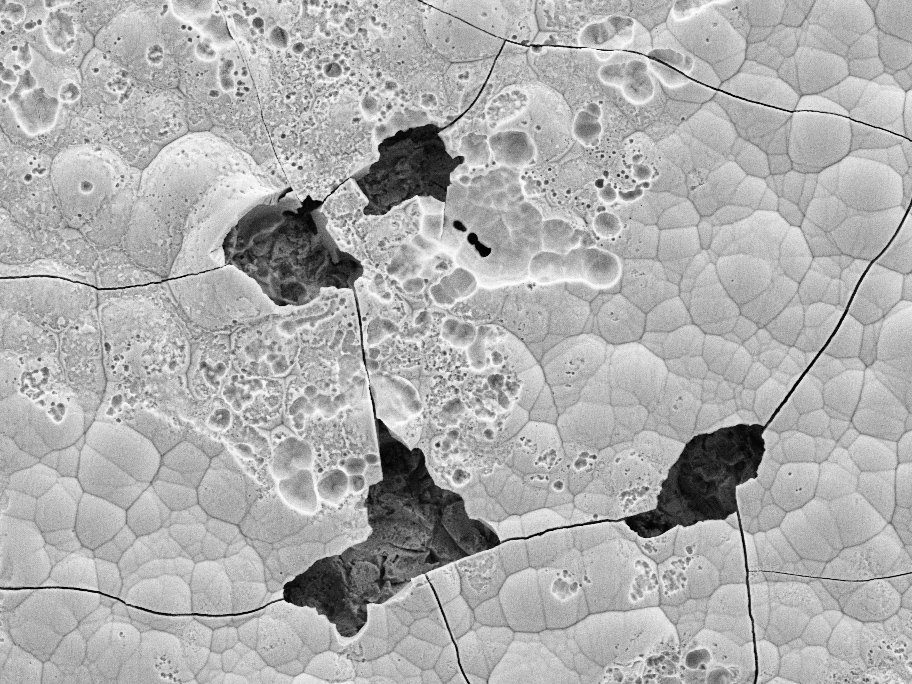
Problem: Signs of corrosion on special chrome-plated cooktops.
Analyzed error: Increased corrosion of the chrome layer causing failure of the component.
Result: Examination of the surface indicated that the chrome layer had been affected by chemical corrosion caused by chloride solutions. No consistent flaw could be identified in the laminar structure, so a coating error was ruled out.

